A couple of weeks back, a friend of mine dropped by the shop.
I hadn't seen him in a while.
He'd been out of state, or as we say here in Alaska, outside. A great aunt had died, and he was the executor of her estate. While cleaning out her house, up in the attic, he came across a pair of old rocking chairs.
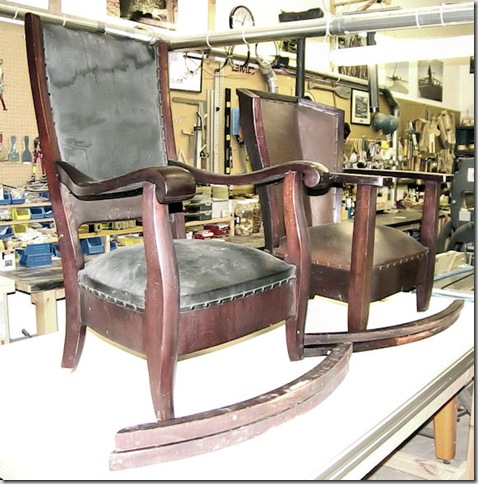
And not just any old rocking chairs, but heirloom pieces, made around 1880. The rockers had been hand-crafted by my friend's great grandfather who owned a furniture factory in Missouri and they were worth a fortune - or would have been if they'd been in decent shape. They'd graced his aunt's home for many years, but over time had gotten nicked and damaged and worn down and so eventually ended up forgotten in the attic for decades.
My friend wanted them. Badly.
He contacted a shipping company, who agreed to ship them ground freight to Alaska. Just one problem, they wouldn't fit in a regular sized crate. And if the company had to build special crates, well that would just about double the already significantly high shipping costs.
So, he tried to take them apart. He carefully separated the hundred and thirty year old hide glue holding the rockers in place, but still managed to break a rocker in the process - nearly breaking his heart as well.
Once they were safely in Alaska, he brought them to me.
Uncrated, they weren't much to look at.
The finish was nicked and faded, and the leather, while being in pretty good shape for century-old cowhide, was faded and stained.
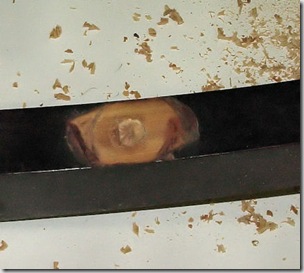
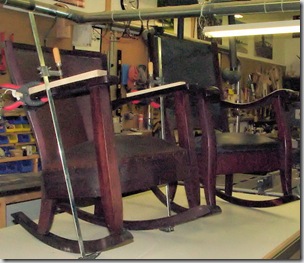
I fixed the broken rocker easily enough, by boring a horizontal hole into the opposing faces of the break, then inserted a 1" oak dowel, and then glued it together with a polymer wood glue. It sat in the clamps for a week, and when finished was far stronger than the original.
Then I set about reassembling the chairs.
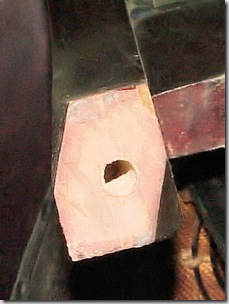
First the old wooden pins needed to be bored out of the rockers and legs.
Which I did with a forstner bit in the drill press for the rockers, and a hand drill for the legs.
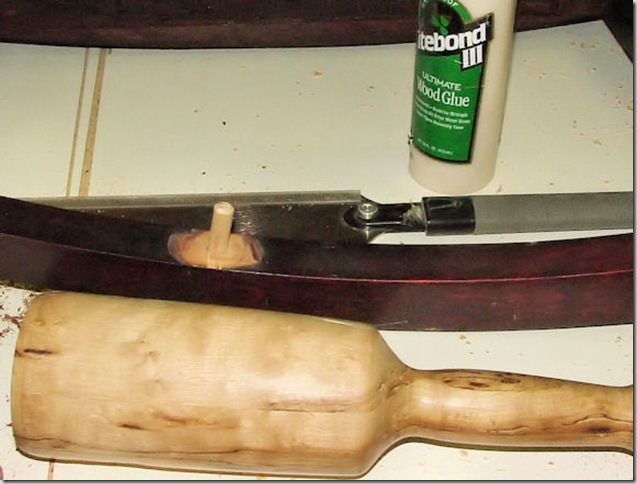
Then I fashioned replacement wooden pins from oak dowel and inserted them into the rockers.
The original craftsman who first fabricated these chairs really knew what he was doing. The front pins were vertically mounted and glued into place in stopped blind holes. But the back pin holes were bored completely through the rocker at an angle, and at first I couldn't figure out why he had done that. Some experimentation answered the question. The rockers are first mounted by inserting the front rocker pins into the legs, then the back pins are driven through the rocker with a mallet - which served to draw the rockers tightly against the legs without glue or fiddling around. Brilliant, and an outstanding example of old fashioned master chair making.
Once the rockers were reattached, I did glue the front pins in place, sort of the suspenders and belt idea here, and clamped them to dry for a day or two.
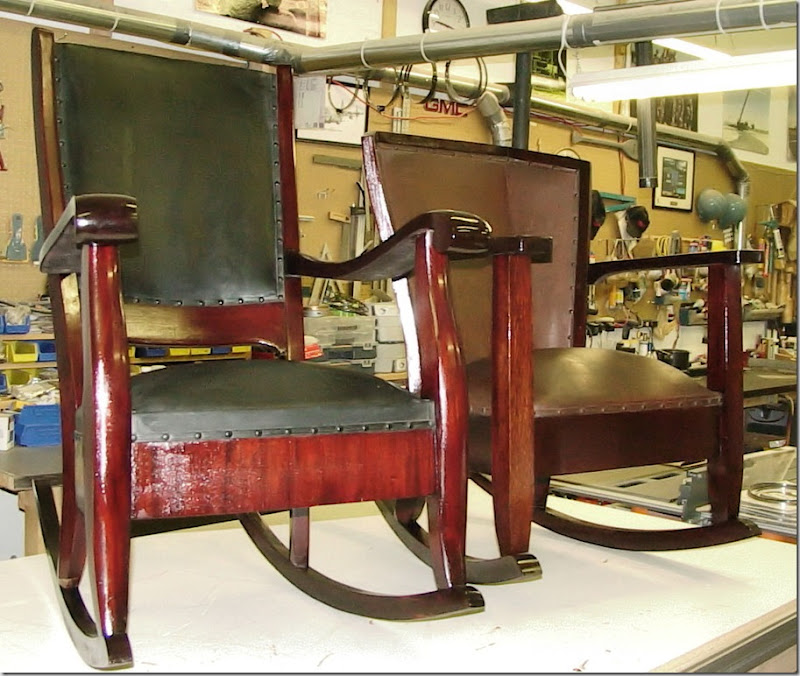
Then I recreated the original mahogany finish by mixing mahogany dye into clear spar varnish. I lightly sanded down the old finish and applied my mix over the top. This preserved the original finish, fixed the nicks and scratches, and brought out the original color, shine, and vibrancy. Then I used a leather restorer on the seats and backs.
I am more than satisfied with the results. Both of these chairs are nearly a hundred and thirty years old and fully restored to their original condition. They are incredibly beautiful in person, the pictures don't do them justice. Both are outstanding examples of a lost art - the art of American frontier furniture making with only basic steam powered machinery, hand tools, and elbow grease.
My friend has not yet seen them. He's coming by tomorrow to pick them up, I think he'll be pleased.
That's pretty neat. Thanks for sharing!
ReplyDeleteThat's pretty damn amazing! Great job on the chairs. Your friend should be ecstatic.
ReplyDeleteBeautiful. I am consistently impressed with people who have these kinds of skills.
ReplyDeleteThose are beautiful - nicely done! If I were the chairs' owner, I'd be pretty thrilled.
ReplyDeleteWow, Jim. Just...wow.
ReplyDeleteGreat job, Jim! I'm impressed! Wish I had a chair like that, by the way. Rocking by a fireplace with a good book - what a concept!
ReplyDeleteThat's awesome!
ReplyDeleteWanna come to Morgantown and help me fix my grandmother's kitchen chairs? ;)
What a wonderful job Jim. If you ever find yourself down this way...better bring your tools. I live in a century old home.. with the original woodwork that is just screaming out your name!
ReplyDeletethat is after you are done fixing Michelle's Grandmother's chair.
Wow. Beyond question, that's fantabulous work!
ReplyDeleteNice job. :)
ReplyDeleteChairs plural Kim.
ReplyDeleteMy grandmother says she thinks the kitchen table and chairs may have been antique when they got them from my grandfather's aunt. But over the years they've been glued and braced so they didn't fall apart when she sat on them.
Plus, the table needs... something... to keep the top from sliding. And we need to make a leaf that actually matches the rest of the table...
Heh.
I am always fascinated when someone reports on how things used to be put together by people who cared.
ReplyDeleteLovely work.
Dr. Phil
Thanks for the comments all. This was a fun project, I don't get to work on 130 year old furniture all that often, and I really enjoyed it.
ReplyDeleteKim, I'd love to see that woodwork, old houses are often amazing places - under the paint that is.
Michelle, should I ever get that way, I'd help you with the chairs. Kitchen chairs are often a major pain, they're light in construction and see heavy use and usually just don't hold up well over the years.
Absolutely lovely!
ReplyDeleteI have a hundred-plus-year-old maple secretary from my mother. It was assembled without nails. The only screws hold the hinges on. It, too, is beautiful craftsmanship, and is my pride and joy.
I am very much impressed by your blog, you can find more Wood Rocking Chairs that suites your budget.
ReplyDelete